Key takeaways
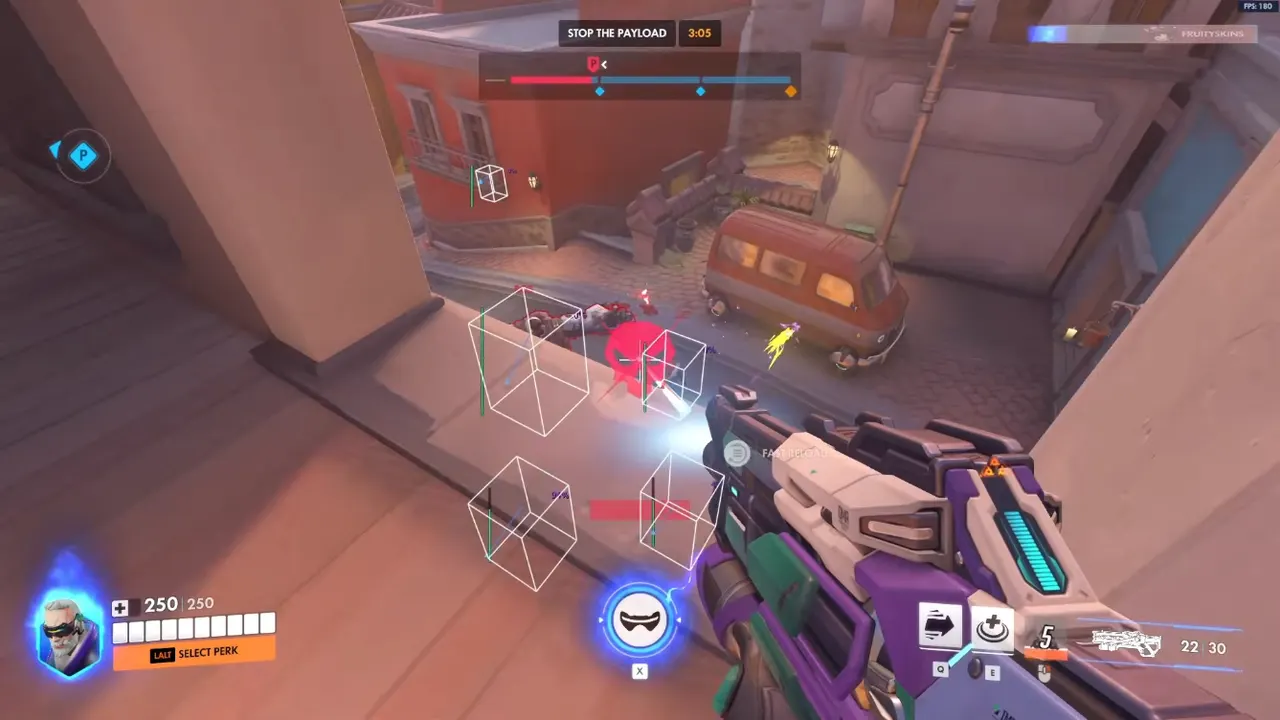
- A 2D radar hack answers off-screen direction and density; boxes still answer who to pre-aim.
- Separate player and objective layers — mixed icons cause false rotates.
- Zoom and opacity matter more than widget size; Private Viper ships the full radar stack.
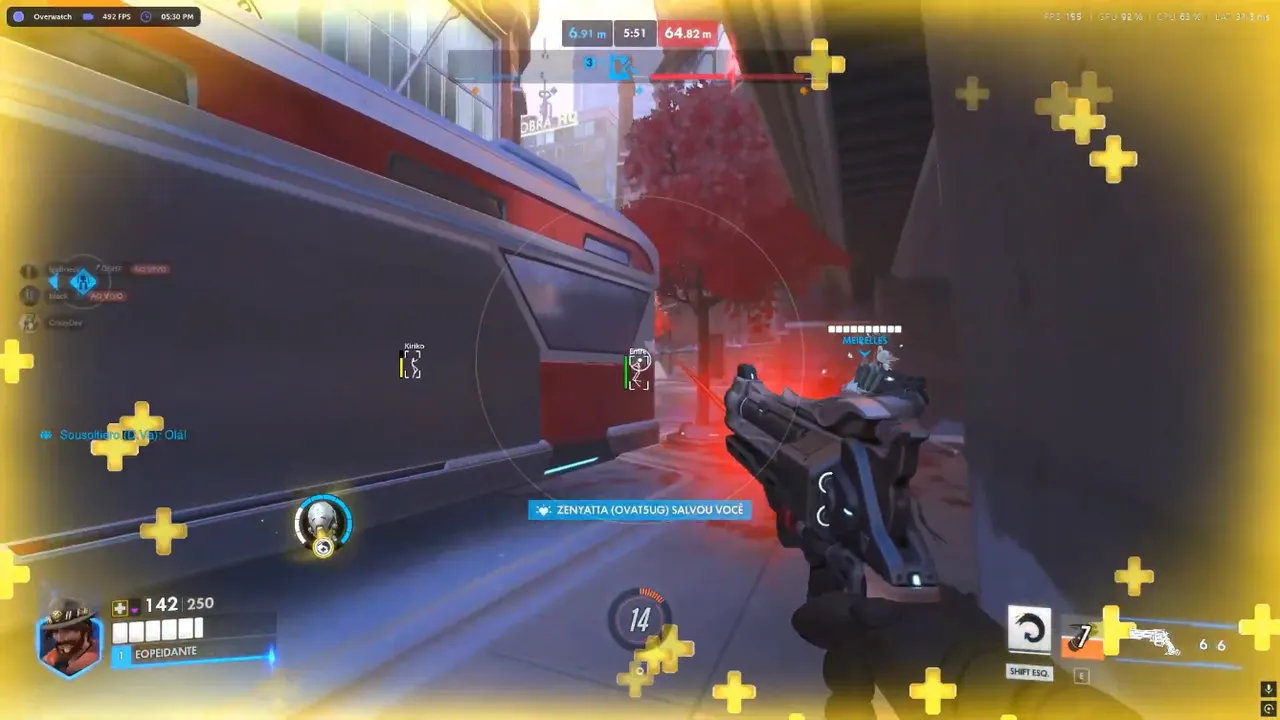
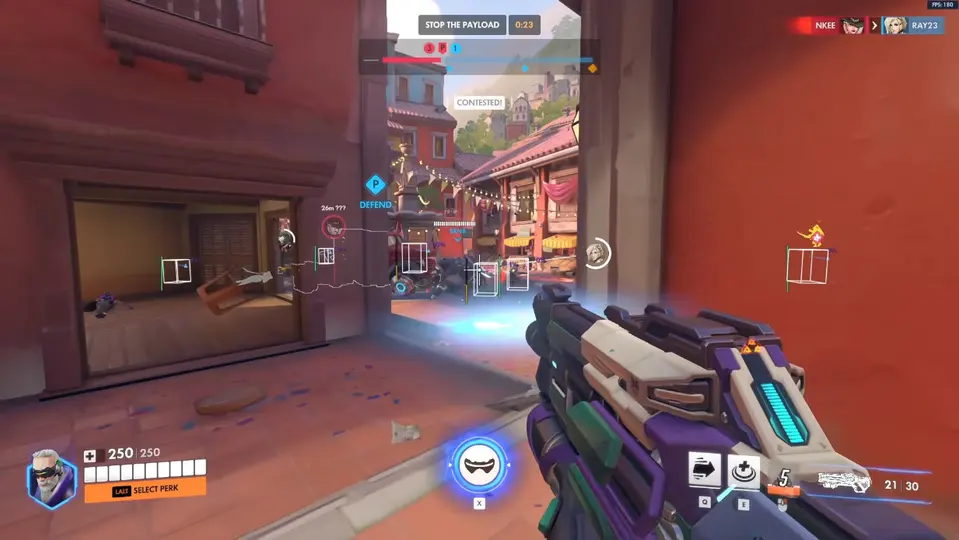
On-screen boxes tell you what sits in front of the crosshair. An Overwatch 2 2D radar hack tells you what is wrapping the building, the high ground, or the cart while you stare at a duel. That is the gap between winning the team fight and losing because someone walked in from seventy degrees off-axis. Radar is not a second wallhack. It is a compass.
This guide covers styles, player versus objective layers, zoom, and how to pair radar with player ESP and wallhack-style boxes. Full layered radar lives on OverwatchCheats Private Viper. Xray and Pro still win a lot of ranked with boxes alone — upgrade when replay notes say “never saw the wrap.” Deep stack notes are in the Private Viper guide. Cart timing pairs with objective ESP.
Features — what 2D radar actually adds
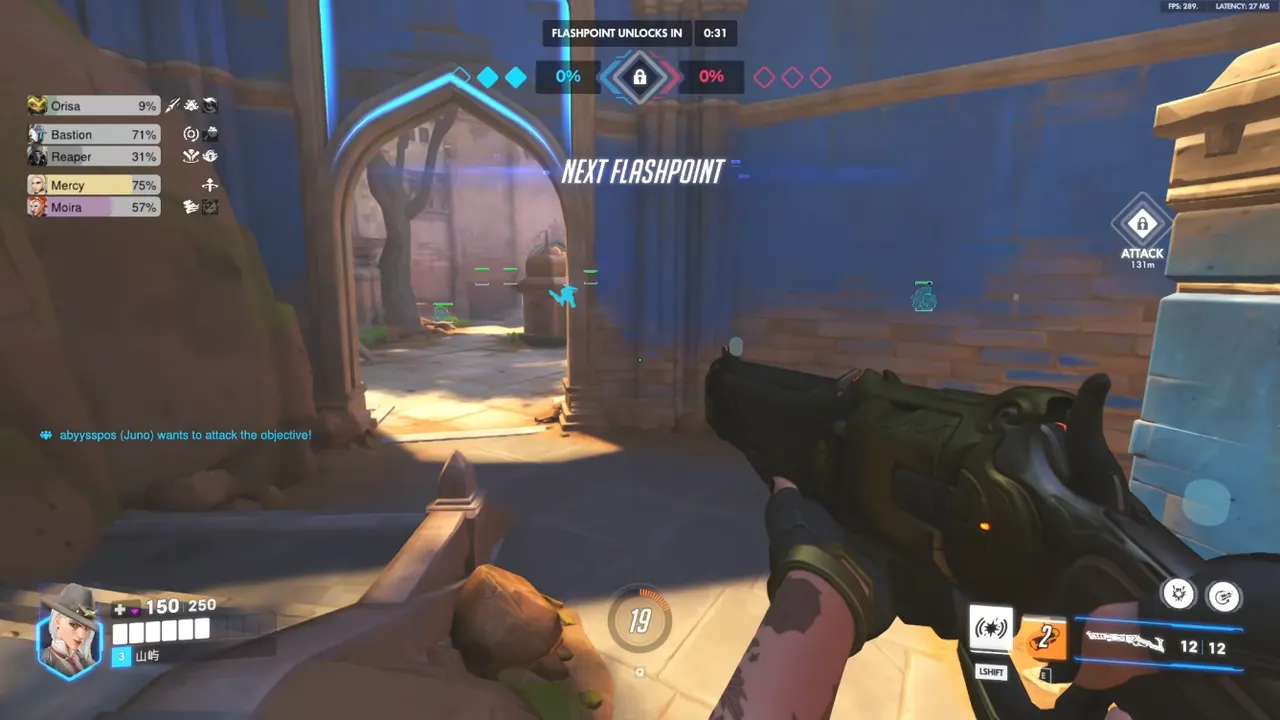
Boxes excel at line-of-sight threats: the Genji about to dash you, the Widow in your lane. Radar excels at off-screen geometry: who is wrapping King’s Row left, whether a flank route is occupied, how many heroes sit on a point you cannot see.
OverwatchCheats Private radar typically includes:
- Square, circle, or custom radar styles
- Player blips with distance rings
- Objective and payload context on the same widget
- Tunable size, zoom, and opacity
Circular radar is intuitive for compass reads. Square radar sits cleanly in HUD corners and stream layouts. Place it where your eyes already flick — near kill feed or ability bar — and leave it there. Muscle memory beats a giant minimap you never parse in a brawl.
Radar does not replace wallhack boxes. Direction and density versus precision and range. Together they cover the loop. Duplicated at max emphasis they print the same fact twice.
Usage tips — layers, zoom, pairing
Enable distinct icons for enemies, optional teammates, and objective context. Do not mix a turret and a Tracer on the same dot. You will peel the static threat while the mobile one finishes the backline.
Zoom by mode:
- Control — medium zoom; fights orbit one point with 360° pressure
- Payload / push — slightly wider; threats arrive from spawn paths over time
- Final holds — tighten so every blip is a real timer, not a distant rumor
Integration rules:
- Radar tells you to rotate; boxes tell you where to pre-aim.
- If a box is already on screen, keep the radar blip quiet.
- Cap box render closer than radar range — radar is early warning, boxes are fight confirmation.
- Optional: disable radar during a committed 1v1 so you stop staring at the widget.
Skeleton ESP stacks well: radar says wrap, skeleton confirms the lean when they enter LOS.
Anti-cheat and safety
A 2D radar hack is still an overlay. Shooting a blip through a wall, spinning 180 on a silent flank every time, or stacking max aimbot on every radar contact is how VODs look scripted.
Safer radar on Private Viper:
- Use radar between fights and on rotates, not as a pre-fire map
- Keep Pro or Private aim visibility checks on
- Streamers must exclude radar from capture — blips leak as hard as boxes. See stream-safe overlays
- After patches, re-check zoom and position; HUD shifts move the widget
Undetected myths still apply. Radar does not make the loader immortal. It makes bad habits more efficient.
Why OverwatchCheats for radar
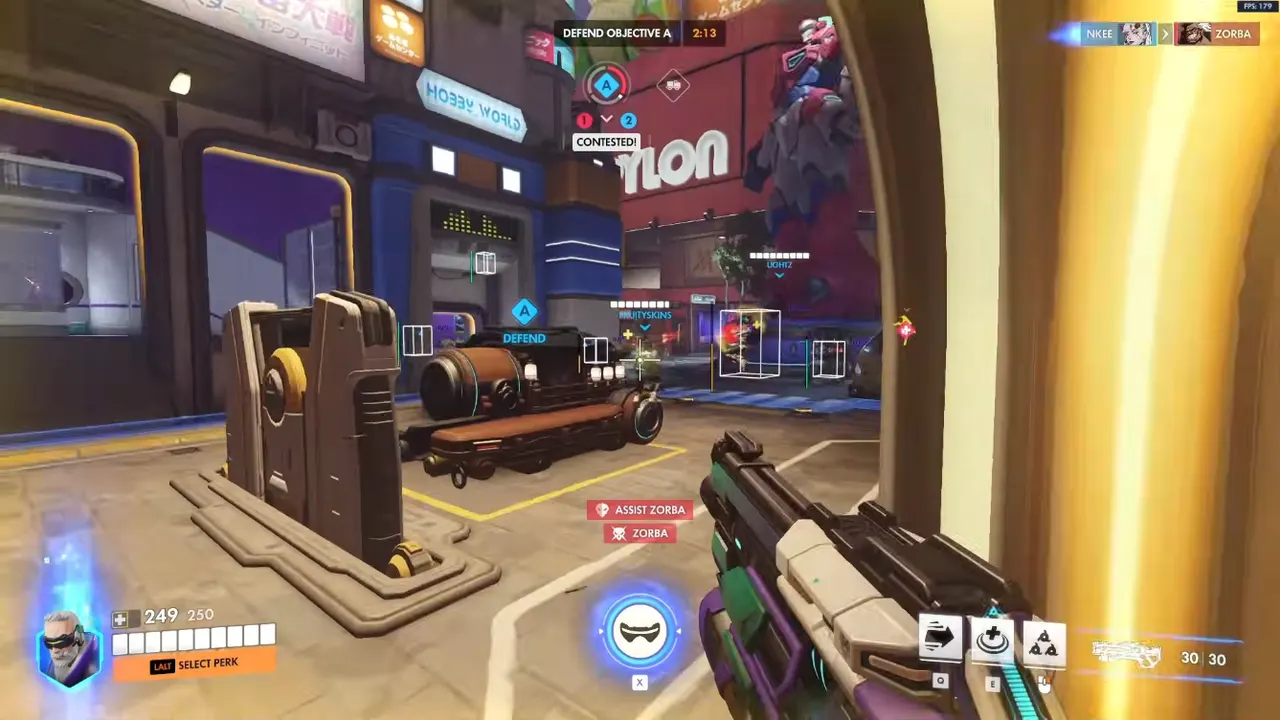
We document radar as a Private Viper feature with a job: flanks and density. We do not pretend Xray includes a full minimap hack, and we do not tell you to buy Private for radar if your deaths are lost 1v1s. That honesty is the catalog: Xray for boxes, Pro for aim assist, Private for radar and ult ESP.
Get Access from /cheats/ when off-angle notes demand the 2D radar hack. Then keep objective ESP in the same session so the cart and the wrap are one plan.
Common radar mistakes
Duplicating every box on the widget. Same data, double clutter. If the hero is on screen, the blip can be dim.
Mixed icon layers. A turret and a Tracer sharing a dot cause false peels. Recolor deployables or hide them on radar and keep them on ability ESP instead.
Wrong zoom for the map pool. Control wants a tighter world than a long payload. If flanks always feel sudden, you are under-zoomed. If every distant spawn looks like a dive, you are over-zoomed.
Staring at radar during a committed 1v1. The widget is for between-fight reads. In the duel, boxes and crosshair win.
Enabling radar before boxes work. Fix player ESP and wallhack-style readability first. Radar multiplies a good overlay; it cannot teach you to parse boxes.
Shooting the minimap. A blip behind a wall is a rotate cue. Pre-fire from radar is how Private users create the same tell as a wallhack highlight.
If you mainly die in equal peeks, radar will not help. Stay on Xray or Pro and read the Pro tier review. If you win the 1v1 and still lose the point because someone walked in off-axis, that is the 2D radar hack use case — Get Access to Private and keep one person on the widget.
Bottom line
The Overwatch 2 2D radar hack is flank insurance on top of readable boxes. Clean layers, honest zoom, pair with ESP instead of replacing it. Add radar when wraps and third parties define the VOD — then Get Access to Private and leave Xray or Pro on teammates who do not need a second minimap.