Key takeaways
- Health and ult ESP should filter by priority tier, not highlight every cooldown on the map
- Setup phases need different ESP profiles than team fight phases
- Pair resource visibility with player ESP distance limits to protect attention
- Seasonal balance shifts mean filter thresholds need occasional retuning
Health and ult ESP is where Overwatch 2 players either accelerate their win rate — or waste entire sessions chasing purple outlines that lead to stagger losses and wasted cooldowns. Hero shooters live and die on resource timing, not resource count. Seeing every health pack and ult percentage within 100 meters feels powerful for ten minutes, then you realize you have been tracking low-value pickups while the enemy Ana landed anti-heal and Grav on your team.
Resource ESP done right is a filtering problem. You want enough visibility to route efficiently, enough silence to hear ult callouts, and enough discipline to engage before greed turns a winning fight into a lost point. This guide covers health pack thresholds, ult charge priority, how resource overlays interact with player ESP, and why fight economy context should dictate your paramètres — not a generic “enable all resources” preset from a random config share.
What Health & Ult ESP Should Tell You
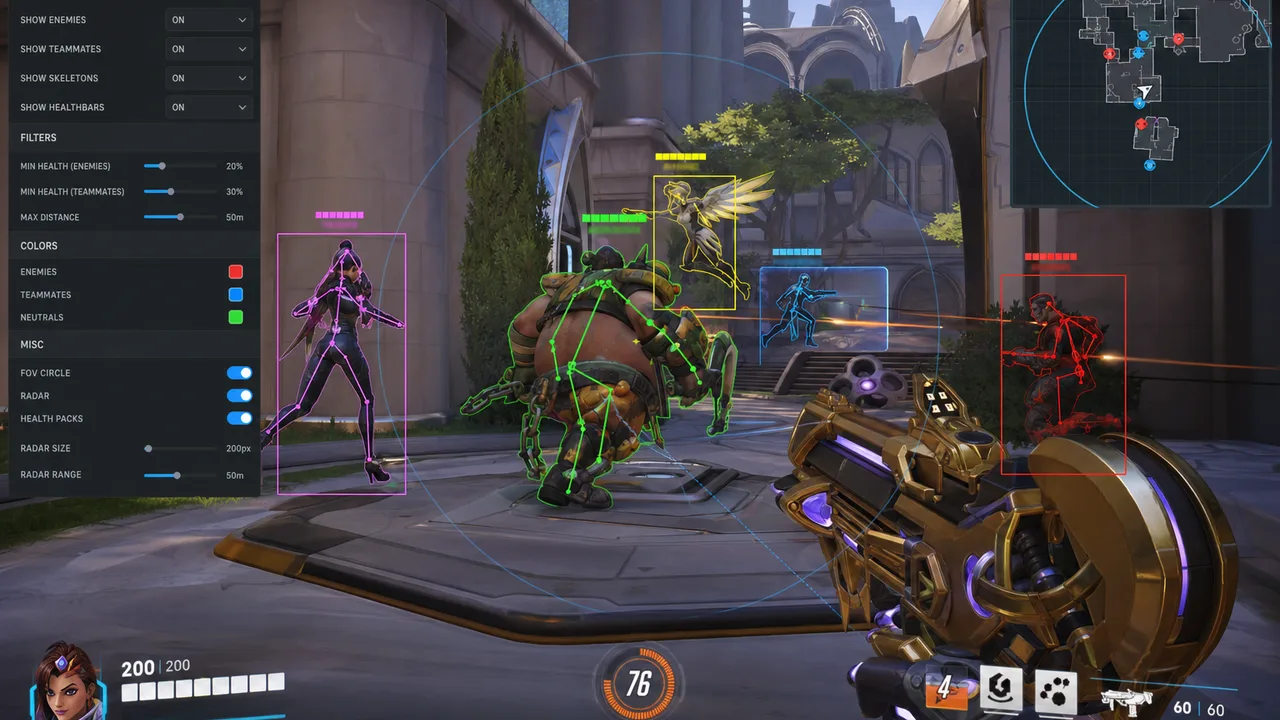
Good resource ESP answers three questions:
- Can I sustain this fight? — nearby health packs, teammate heal resources
- Do they have fight-winning cooldowns? — enemy ult charge, key ability status
- Is now the window to push? — your team’s ult advantage vs theirs
Everything else is noise. Overwatch 2 fights are decided by cooldown alignment more often than raw aim — and resource ESP exists to make that alignment visible before you commit.
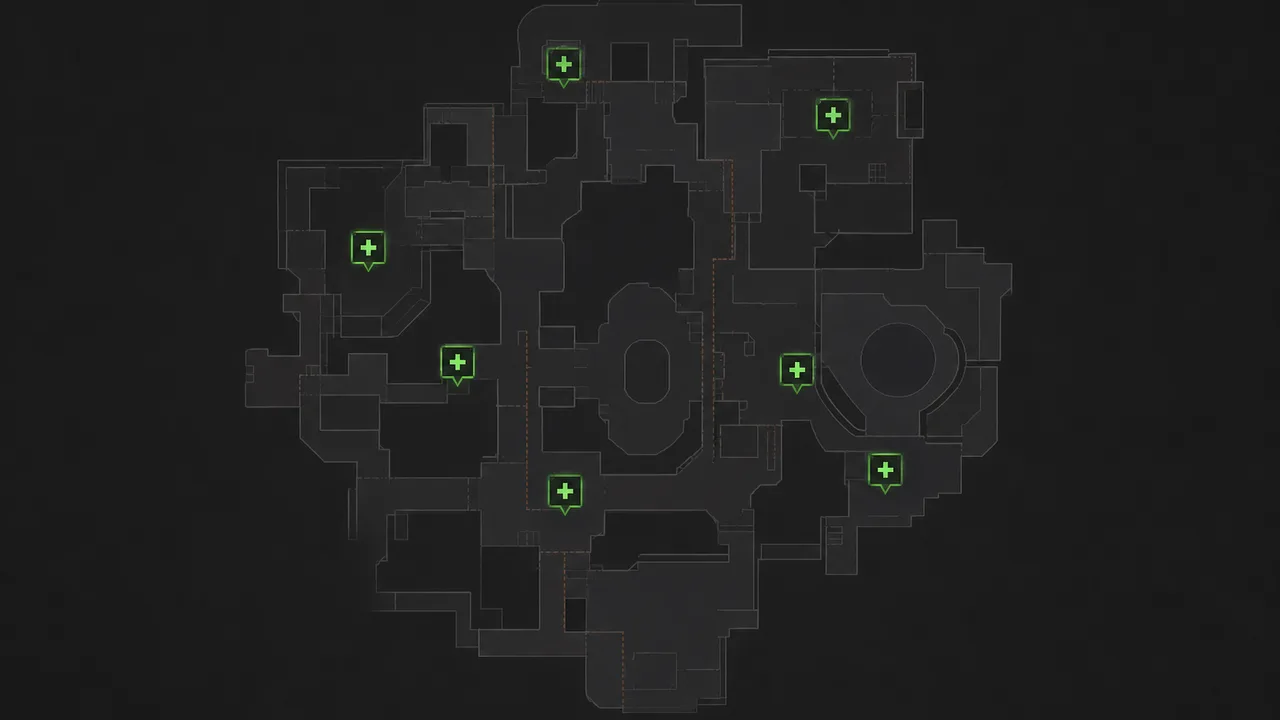
Health Pack ESP — Routing, Not Hoarding
Health pack markers help when:
- You are flanking and need sustain routes planned
- You are low and deciding between disengage and one more duel
- You are holding off-angle and need to know where to reset after poke
Filter paramètres:
- Show only packs within engagement-relevant range (15–30m for most DPS)
- Hide packs behind long rotations you will not use this fight
- Differentiate small vs mega pack value where the menu supports it
Common mistake: Highlighting every pack on the map. You do not need to know about a health pack on the opposite spawn when you are holding first point. Cap distance aggressively.
Pair health pack ESP with player ESP distance limits — when enemies are close, player boxes should dominate screen space; health markers can dim or hide automatically in some builds.
Ult Charge ESP — The Competitive Edge
Ult tracking is the highest-value resource overlay in ranked. Knowing enemy support is at 90% before you push is worth more than perfect flick accuracy on one target.
Priority tiers:
- Tier 1 — enemy support ults (Grav, Beat, Rally, Coalescence)
- Tier 2 — enemy DPS fight-winners (Blade, Visor, Dragon)
- Tier 3 — tank cooldowns (Shatter, Self-Destruct charge status)
- Tier 4 — your team’s combo pieces for coordinated pushes
Start with Tier 1 only. Add tiers as you can process information without overload. Most players need two tiers, not four.
Ult ESP is not a substitute for team comms — it is confirmation when comms are missing or wrong. “They might have Grav” becomes “they have Grav in six seconds — disengage now.”
Enemy vs Friendly Resource Layers
Use distinct colors:
- Enemy ult charge — warm colors (red/orange), high priority
- Friendly ult charge — cool colors (blue/green), medium priority
- Health packs — neutral, low saturation
When layers share palettes, your brain stops parsing urgency. In a Grav-or-die moment, you need enemy support charge to scream visually — not blend with a friendly Lucio pack route.
Pairing With Objective ESP
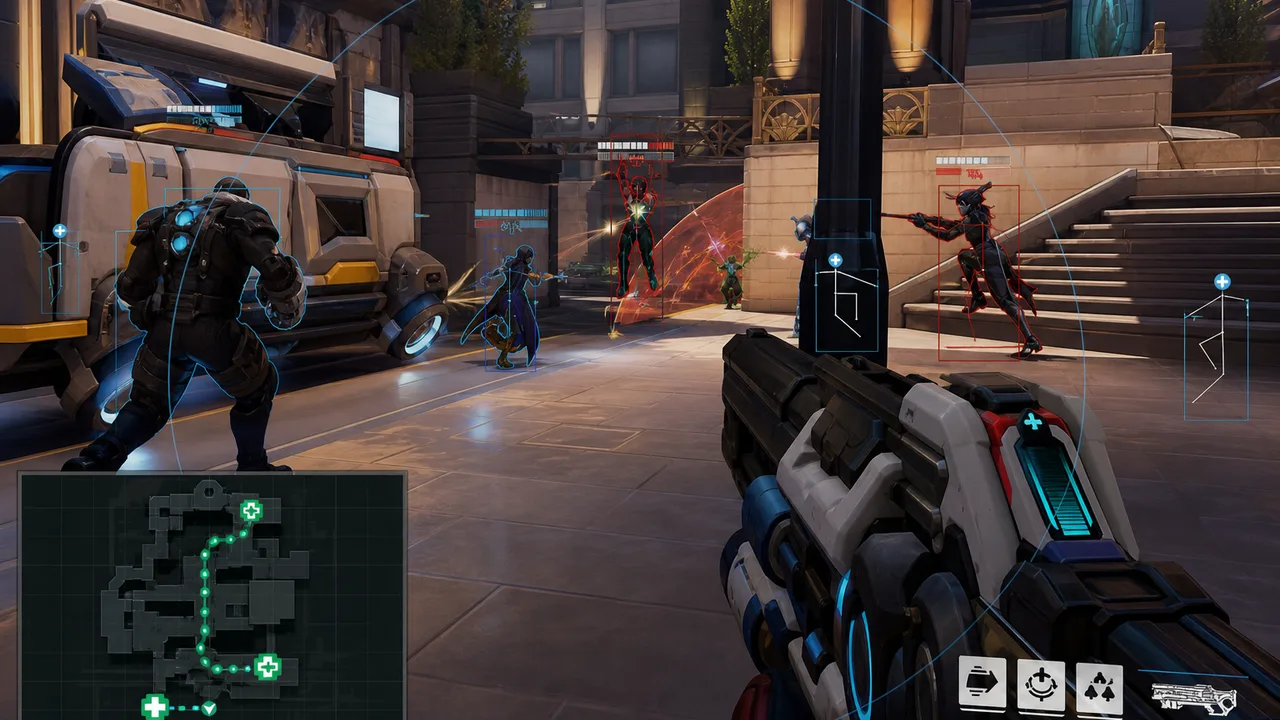
Resource timing and objective ESP overlap on push maps. The question is not just “do we have ults?” but “do we have ults before they touch the payload?”
Workflow:
- Check enemy ult status 30 seconds before expected push
- Check payload distance and your team’s ult advantage
- Commit or stall based on combined read — not aim confidence alone
Players who track ults but ignore payload position win fights and lose maps. Pair guides, not features in isolation.
Tier Pairing — Xray and Above
Xray includes health pack ESP and basic resource markers — enough for solo ranked climbing focused on awareness. Pro adds deeper cooldown tracking and weapon ESP for fight commitment. Private layers full ult economy dashboards with radar for macro control.
See best cheat features ranking for where resource ESP sits in the priority stack — typically Tier A after player ESP, before combat automation.
Patch-Aware Filter Updates
Hero rework patches change ult charge rates and ability priorities. After balance updates:
- Re-rank which enemy ults deserve Tier 1 status
- Adjust health pack filters if map pool changes add or remove pickup locations
- Reset configs copied from pre-patch Discord shares
The patch survival guide covers the full post-update workflow.
Common Resource ESP Mistakes
Every pack, every ult, every cooldown enabled — visual fireworks, zero decisions.
Ignoring player ESP while reading ults — die to the flank while staring at charge percentages.
Same profile for attack and defense — defense needs heavier enemy ult emphasis; attack needs route health packs.
Never updating after patches — stale tier lists highlight wrong threats.
Bottom Line
Health and ult ESP compresses Overwatch 2’s hidden information layer into readable overlays. Filter ruthlessly, prioritize enemy fight-winners, pair with player ESP and objective intel, and tune after every major patch.
The players who climb are not the ones who see everything — they are the ones who see the right resources at the right moment and act before the enemy ult lands.