Key takeaways
- Overwatch 2 triggerbot is a Pro and Private finisher — delay and FOV first, always-on spray never.
- Bind auto-fire separately from aim assist and keep it off in setup, regroup, and shield-check peeks.
- Xray does not include trigger tools; stay there if information is still the leak.
Overwatch 2 triggerbot is auto-fire when the crosshair meets a valid hitbox — delay, FOV, and binds decide whether that helps a pick or sprays every Reinhardt shield in ranked. It is a Pro and Private combat feature, not an Xray toggle. This Overwatch 2 triggerbot tips article is the finisher layer: how to gate shots so they look like committed clicks, not a spray that starts on a graze.
Read the aimbot guide first if FOV and smoothing are still guesses. Phrase-level aim coverage lives on overwatch aimbot. Tier role is the Pro tier review. Private users need the same delay habits with less room for error.
Triggerbot Features on Pro and Private — Not Xray
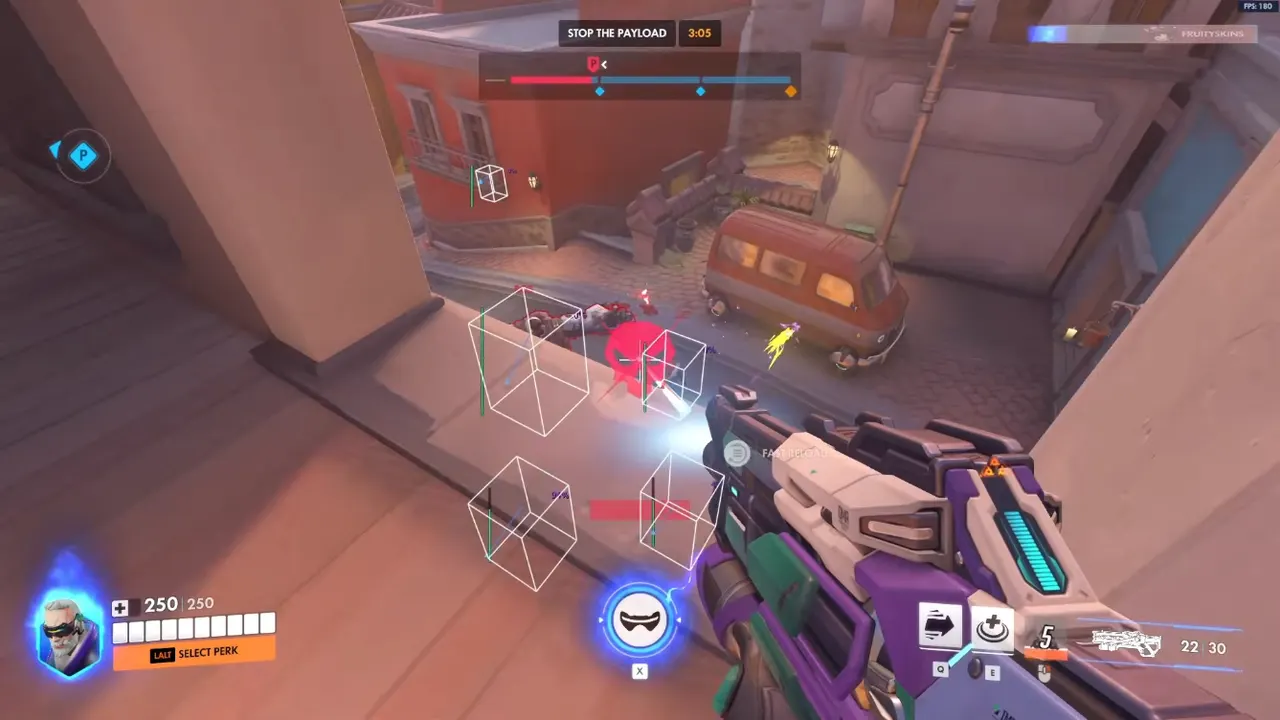
Aim assist moves the crosshair. Overwatch 2 trigger assist fires when the reticle meets a legal hitbox. Assist without trigger still needs a click. Trigger without assist still needs aim. Together they close CQB trades. Together they also create zero-input kill strings if delay is zero and visibility is off.
OverwatchCheats Pro trigger typically includes:
- Enable trigger assist
- A dedicated trigger key bind — not the same as “always on”
- Overwatch 2 trigger FOV, optionally drawn (hide the draw in ranked and on stream)
- Delay between contact and shot
- Visibility / line-of-sight checks
Private Viper can add deeper targeting and the rest of the combat stack. That is more ways to shoot the wrong frame, not a reason to leave Overwatch 2 auto fire always on.
Xray does not ship triggerbot. If you only need boxes, health, and light smooth targeting, stay there. Buying Pro “for the trigger” while you still die to unseen flanks is the wrong upgrade. Confirm the live list on /cheats/pro/ after patches.
What these features should not do:
- Fire through hard cover because a skeleton is visible
- Spray every shield, ice wall, or Lamp because a hitbox flickered in FOV
- Replace the aimbot FOV work — trigger is the click, not the track
- Stay armed on spawn walks, payload setup, or ult-hold phases
Tune assist in a custom game first. Add the ow2 trigger bot in ranked only after assist feels like a correction. Never max both on night one.
Anti-Cheat, Killcams, and Shield Spray
Trigger through smoke and walls is one of the fastest report paths. If the menu lacks visibility, keep trigger off. Anti-cheat does not care that you “only wanted a finisher.” Zero-delay auto fire on a Winston bubble or a full Reinhardt shield is how lobbies decide the clip is a cheat menu.
Safety defaults for ranked:
- Trigger off by default; a combat key enables Overwatch 2 trigger assist with aim, then both drop when the fight ends
- Delay on, visibility on, chest or smart bone first — head-only strings look inhuman
- Tight trigger FOV so you are not firing on a silhouette at the edge of the screen
- Separate hitscan versus projectile slots
- No trigger while rotating on radar — firing at blips is an accidental engage
- Streamers: hide FOV rings — stream-safe overlays
Watch one replay. If shots start before the crosshair settles, raise delay. Low-profile settings exist because trigger is often what turns a quiet ESP setup into an obvious combat cheat. Xray users who feel they “need trigger” often need boxes first — the Pro review is the upgrade path when trades, not vision, are the VOD.
Usage Tips — Delay, FOV, Binds, Heroes
Three settings separate a finisher from a report magnet.
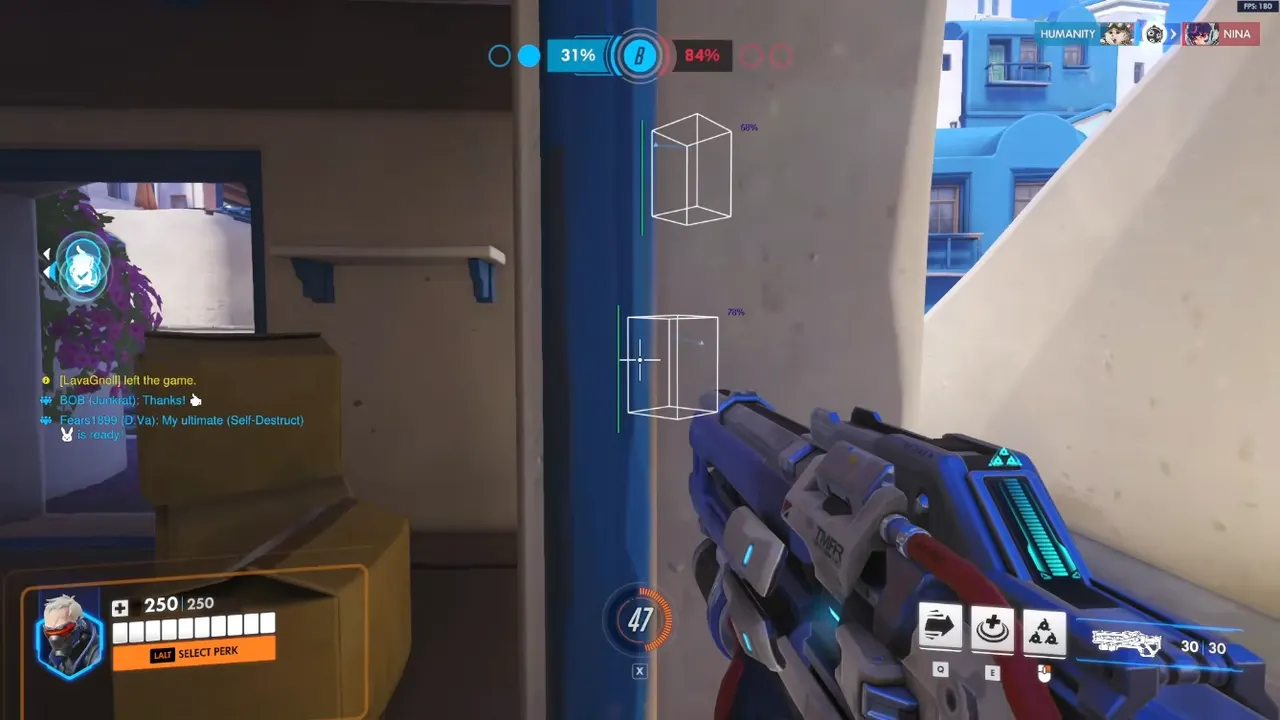
Fire delay. A short buffer after contact. Zero delay fires on a graze, including targets you were tracking past and barriers you were checking. Start conservative. Tighten only when practice-range passes are intentional. After balance patches, re-test; TTK changes what “believable” feels like. See patch survival.
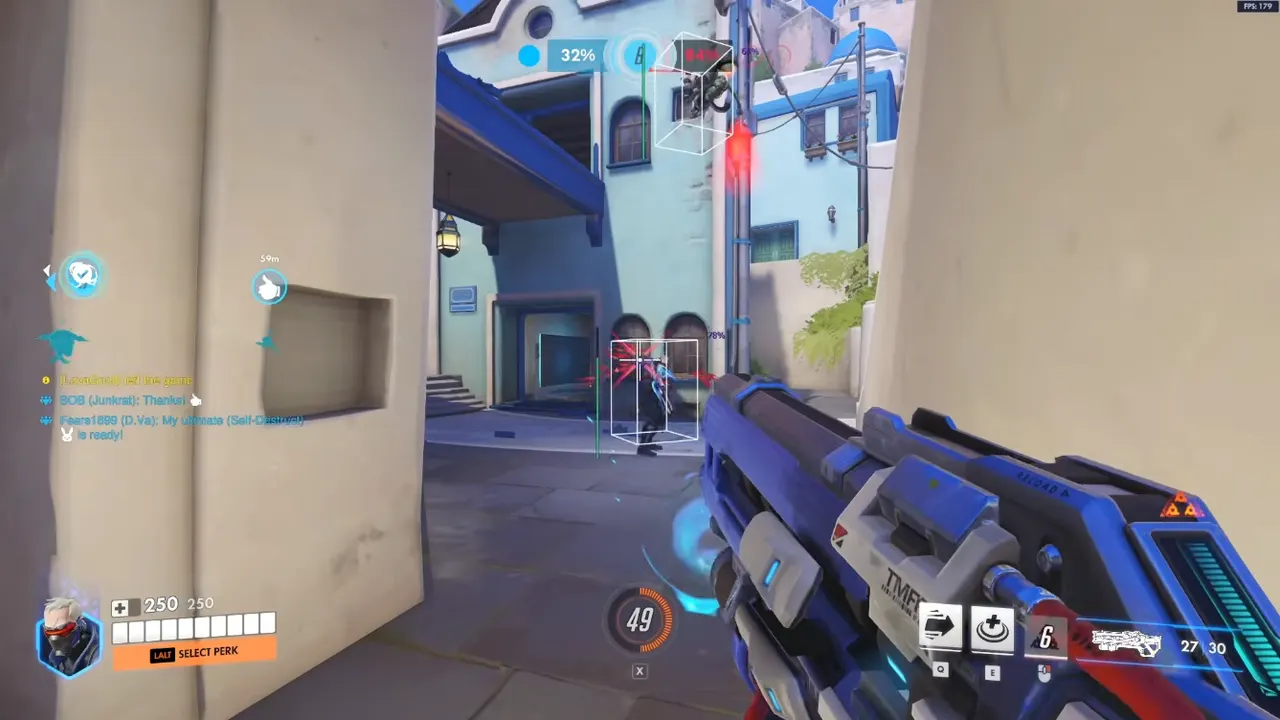
Overwatch 2 trigger FOV. How far off-center a hitbox may sit and still receive a shot. Hitscan lanes want a tight cone. Wide FOV is how you spray the first support who walks through a choke you were holding for a DPS. Hide the FOV draw in competitive. A visible ring is a menu.
Bind. One combat key should arm aim plus trigger and default off. A second key for trigger-only is useful if you already track well and only want the click. Always-on Overwatch 2 auto fire is how support rotations look robotic.
Hero notes:
- Hitscan DPS — most useful mid-close with visibility on
- Projectile — often off or a separate high-delay profile
- Flankers — narrow windows only if the menu supports it; 180 spray is a tell
- Supports — usually trigger off; assist is enough for peel
- Tanks — rarely the right role for an ow2 trigger bot; you are holding space, not popping heads
Disable trigger during spawn walks, regroup chokes, ult-tracking holds, and any spectate transition that leaves the bind hot. Do not leave it on because last fight was a won duel.
Practice-range pass: watch for shots when the crosshair passes a bot you are not fighting. That graze pattern is what you eliminate before you queue. Custom-game pass: fight a friend on a shield tank and confirm you are not dumping mag into the barrier. Then Quick Play. Then ranked.
Why OverwatchCheats Puts Trigger on Pro and Private
We put trigger tools on Pro, document them as a phase-gated finisher, and point you at the aimbot guide before you stack layers. Private is not an excuse to spray. Xray stays out of this feature on purpose so awareness shoppers are not forced into auto fire. That is the OverwatchCheats voice: named tiers, honest binds, Get Access when the death type is lost close trades — not when you want autopilot.
Get Access on /cheats/pro/. Compare Private only if you also need radar and ult ESP. Stay on Xray if you still die to information. Browse /cheats/ for the ladder. The Pro tier review is the mid-stack argument; overwatch aimbot is the broader aim search. This page is delay, FOV, and the bind.
We do not publish dollar amounts. We do not invent a user count. We tell you that Overwatch 2 triggerbot wins peeks you already earned with positioning and ESP, and costs accounts when it is autopilot.
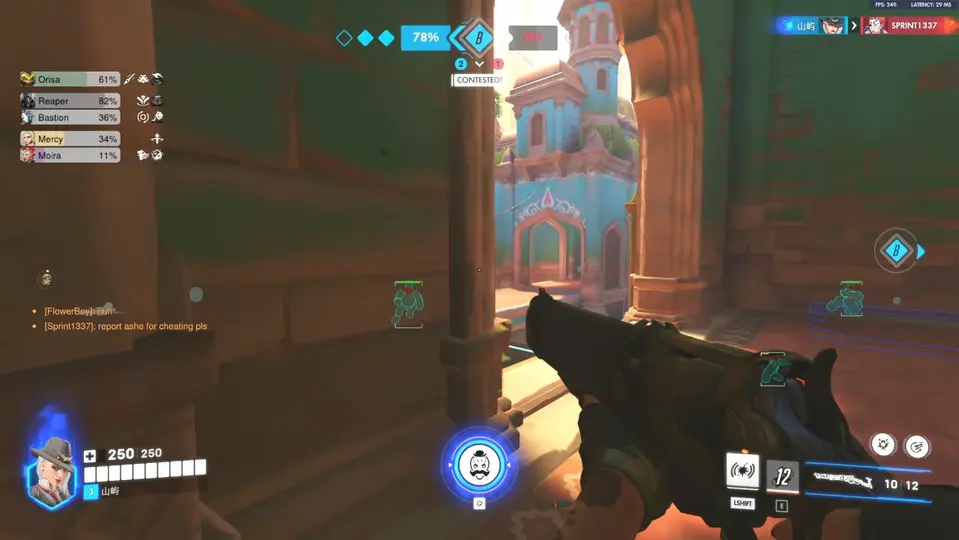
Gate with visibility, delay until commit, keep FOV small, disable in setup, and stack on Pro or Private only after aim assist is boring. The best trigger config looks like a disciplined click because that is what it should be helping you make.